Focus Stacker help page
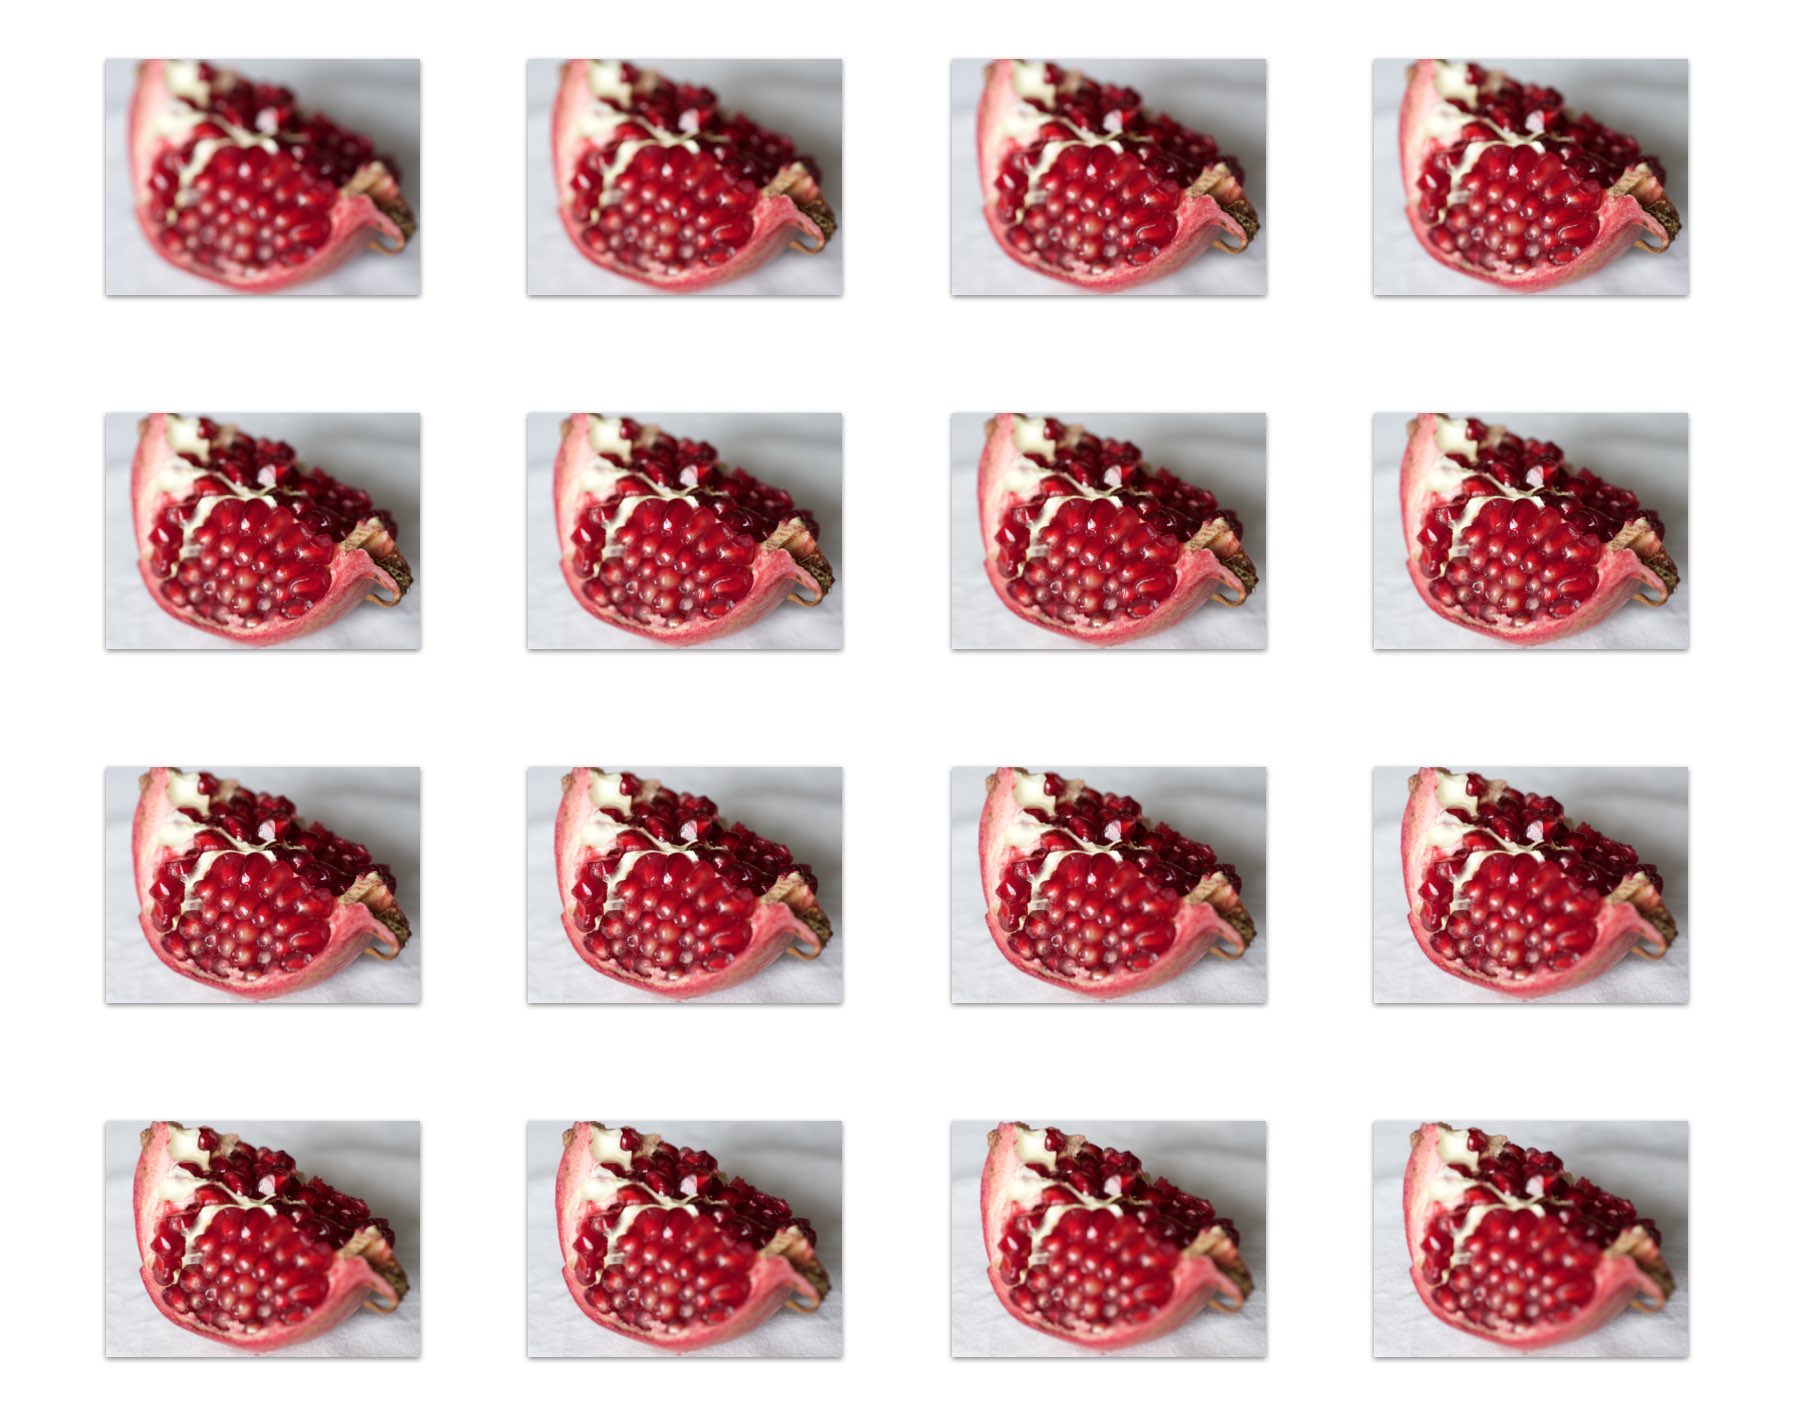
Focus stacking, also known as focus plane merging or focus blending is a technique of combining sharp focused areas from multiple photos into a single image. The technique is useful when it is hard or even impossible to make the whole subject sharp in a single shot. The most common application of focus stacking is macro photography, where high magnification ratios result in a very shallow depth of field.
Prepare source images for stacking
A basic setup is as following. Make sure that your subject is still. Put your camera on a sturdy tripod and make the closest to the camera part of the subject in sharp focus. Take the first picture. Then change the focus distance so the next part of the subject is in focus. Make sure that the first and the next focused areas have a good overlap. Take the second image. Repeat the process until the whole subject is covered.

The overlap of the sharp focused areas between the consecutive frames is crucial for successful stacking. Without the overlap the composite image will have an unsharp region in its place. Also the subject framing is a bit different in each frame so the images need to be aligned before merging. The alignment is done by matching image features in the sharp focused areas. Note: if the image has no overlap with the rest of the images (for example, no sharp focused regions in the image at all) it will be excluded from the stack.
Using Focus Stacker
Focus Stacker has a fully automatic focus region detection and blending. All you need is to prepare images and load them into the app. You can use drag and drop to the application window or File/Import menu option. Stacking will start immediately and you will be presented with a progress bar. After the stacking is finished you will see a preview of the composite image.

To save the image to disk click Save button at the top right window corner. The gear button allows to specify the export format.
Planar stitching
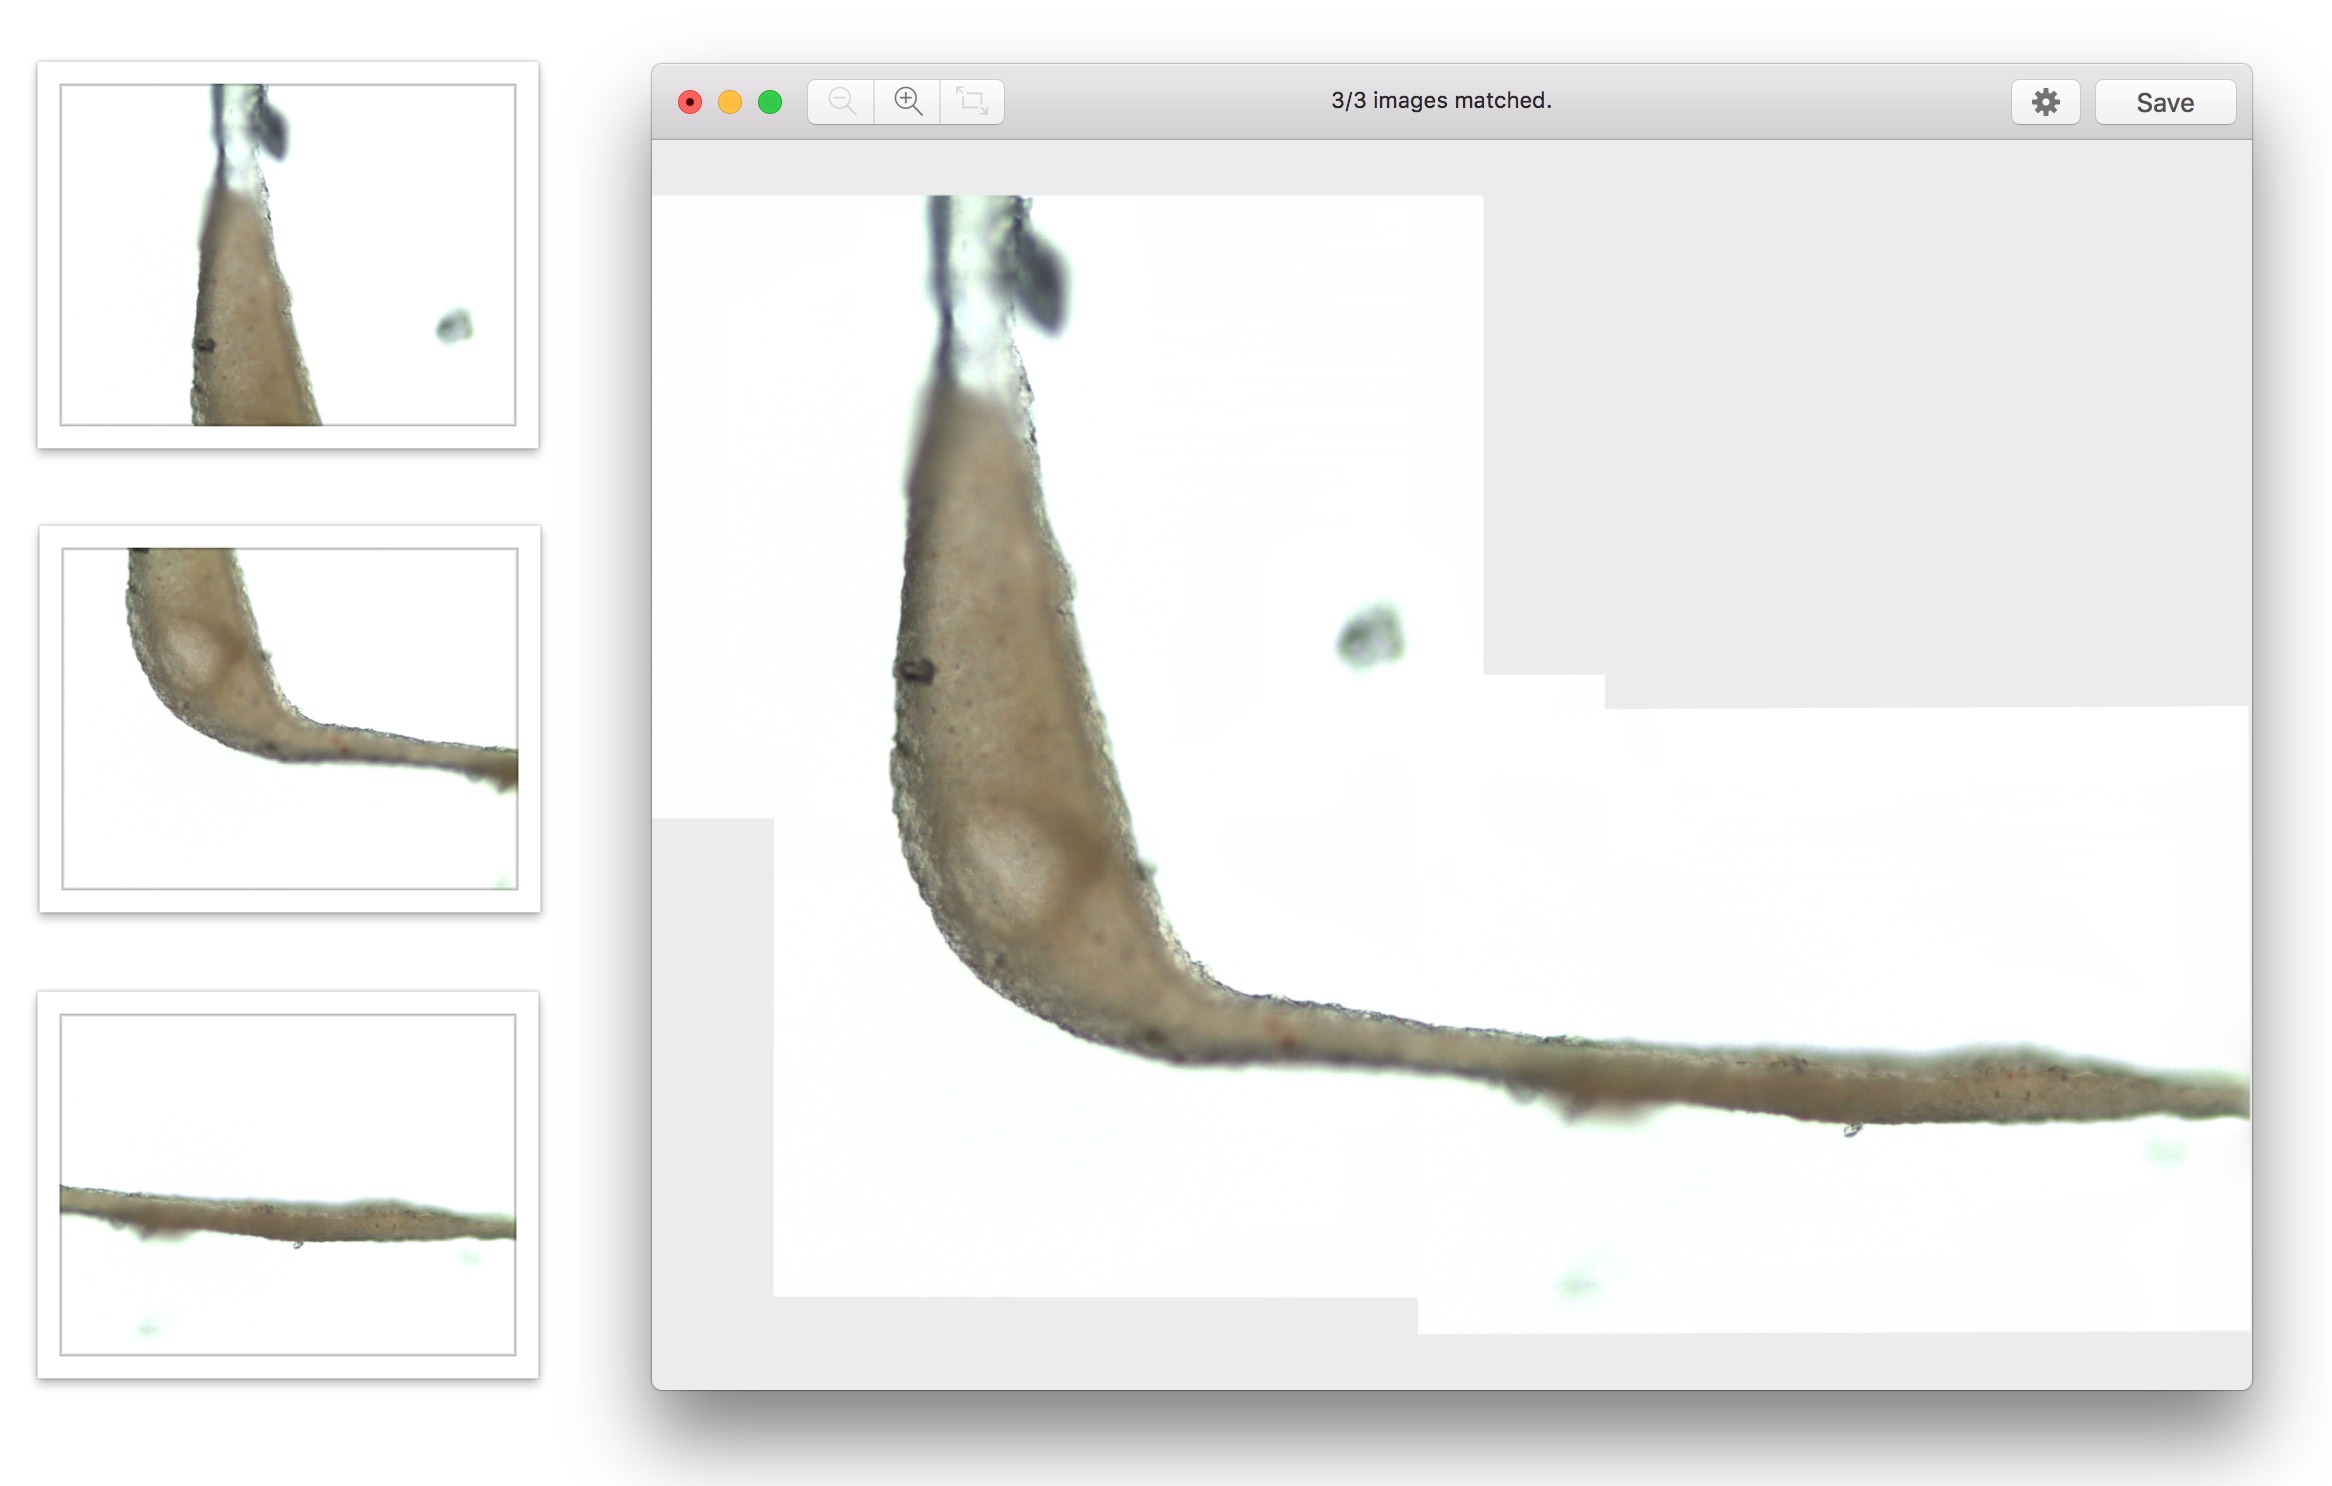
The alignment algorithm in Focus Stacker can handle planar stitching: shift and rotate your subject as needed in the plane perpendicular to the lens axis. This is useful for cases where the photographed specimen is mostly flat and is so large that it cannot fit into one image and camera can be reliable moved along the specimen plane.
The primary use case for this mode is microscope imaging. Move the plate with your specimen so that there is an overlap between frames about 20-30%, like in this example:

You can also do simultaneous stacking and stitching. Take a focus stack, then move your plate and take another stack and so on. Given enough overlap and sharp features the images should blend into one large and sharp composite image.
Retouch interface
Focus Stacker also provides specialized retouch interface that allows to override automatic algorithm for hard stacking cases, like moving insects, simultaneously sharp background/foreground etc. For further details see Focus Stacker retouch interface tutorial.
Preferences
The preferences panel is accessible through the application menu. The following preferences are available:

-
Edge trimming. As images are aligned for stacking, the resulting image size will be different from original image size and will have uneven edges. This option tells the app to crop the composite image edges so its size is equal to that of source images.
-
Background color. If you prefer to not to trim the edges in the previous option then the app needs to know how to fill the parts of the image uncovered by source images. This option allows to specify the background fill color for such areas. This option affects the image only on export.
-
Exposure levelling. This option is useful when source photo exposure varies from frame to frame. Also, if enabled and the app is used for planar stitching the app will try to perform automatic lens vignetting correction.
Support
Please do not hesitate to send bug reports and feature requests to support@focusstacker.com.
|
Follow @boltnevstudio
Copyright 2010-2019 Alexander Boltnev, Olga Kacher. Privacy policy |
|