Focus Stacker retouch interface
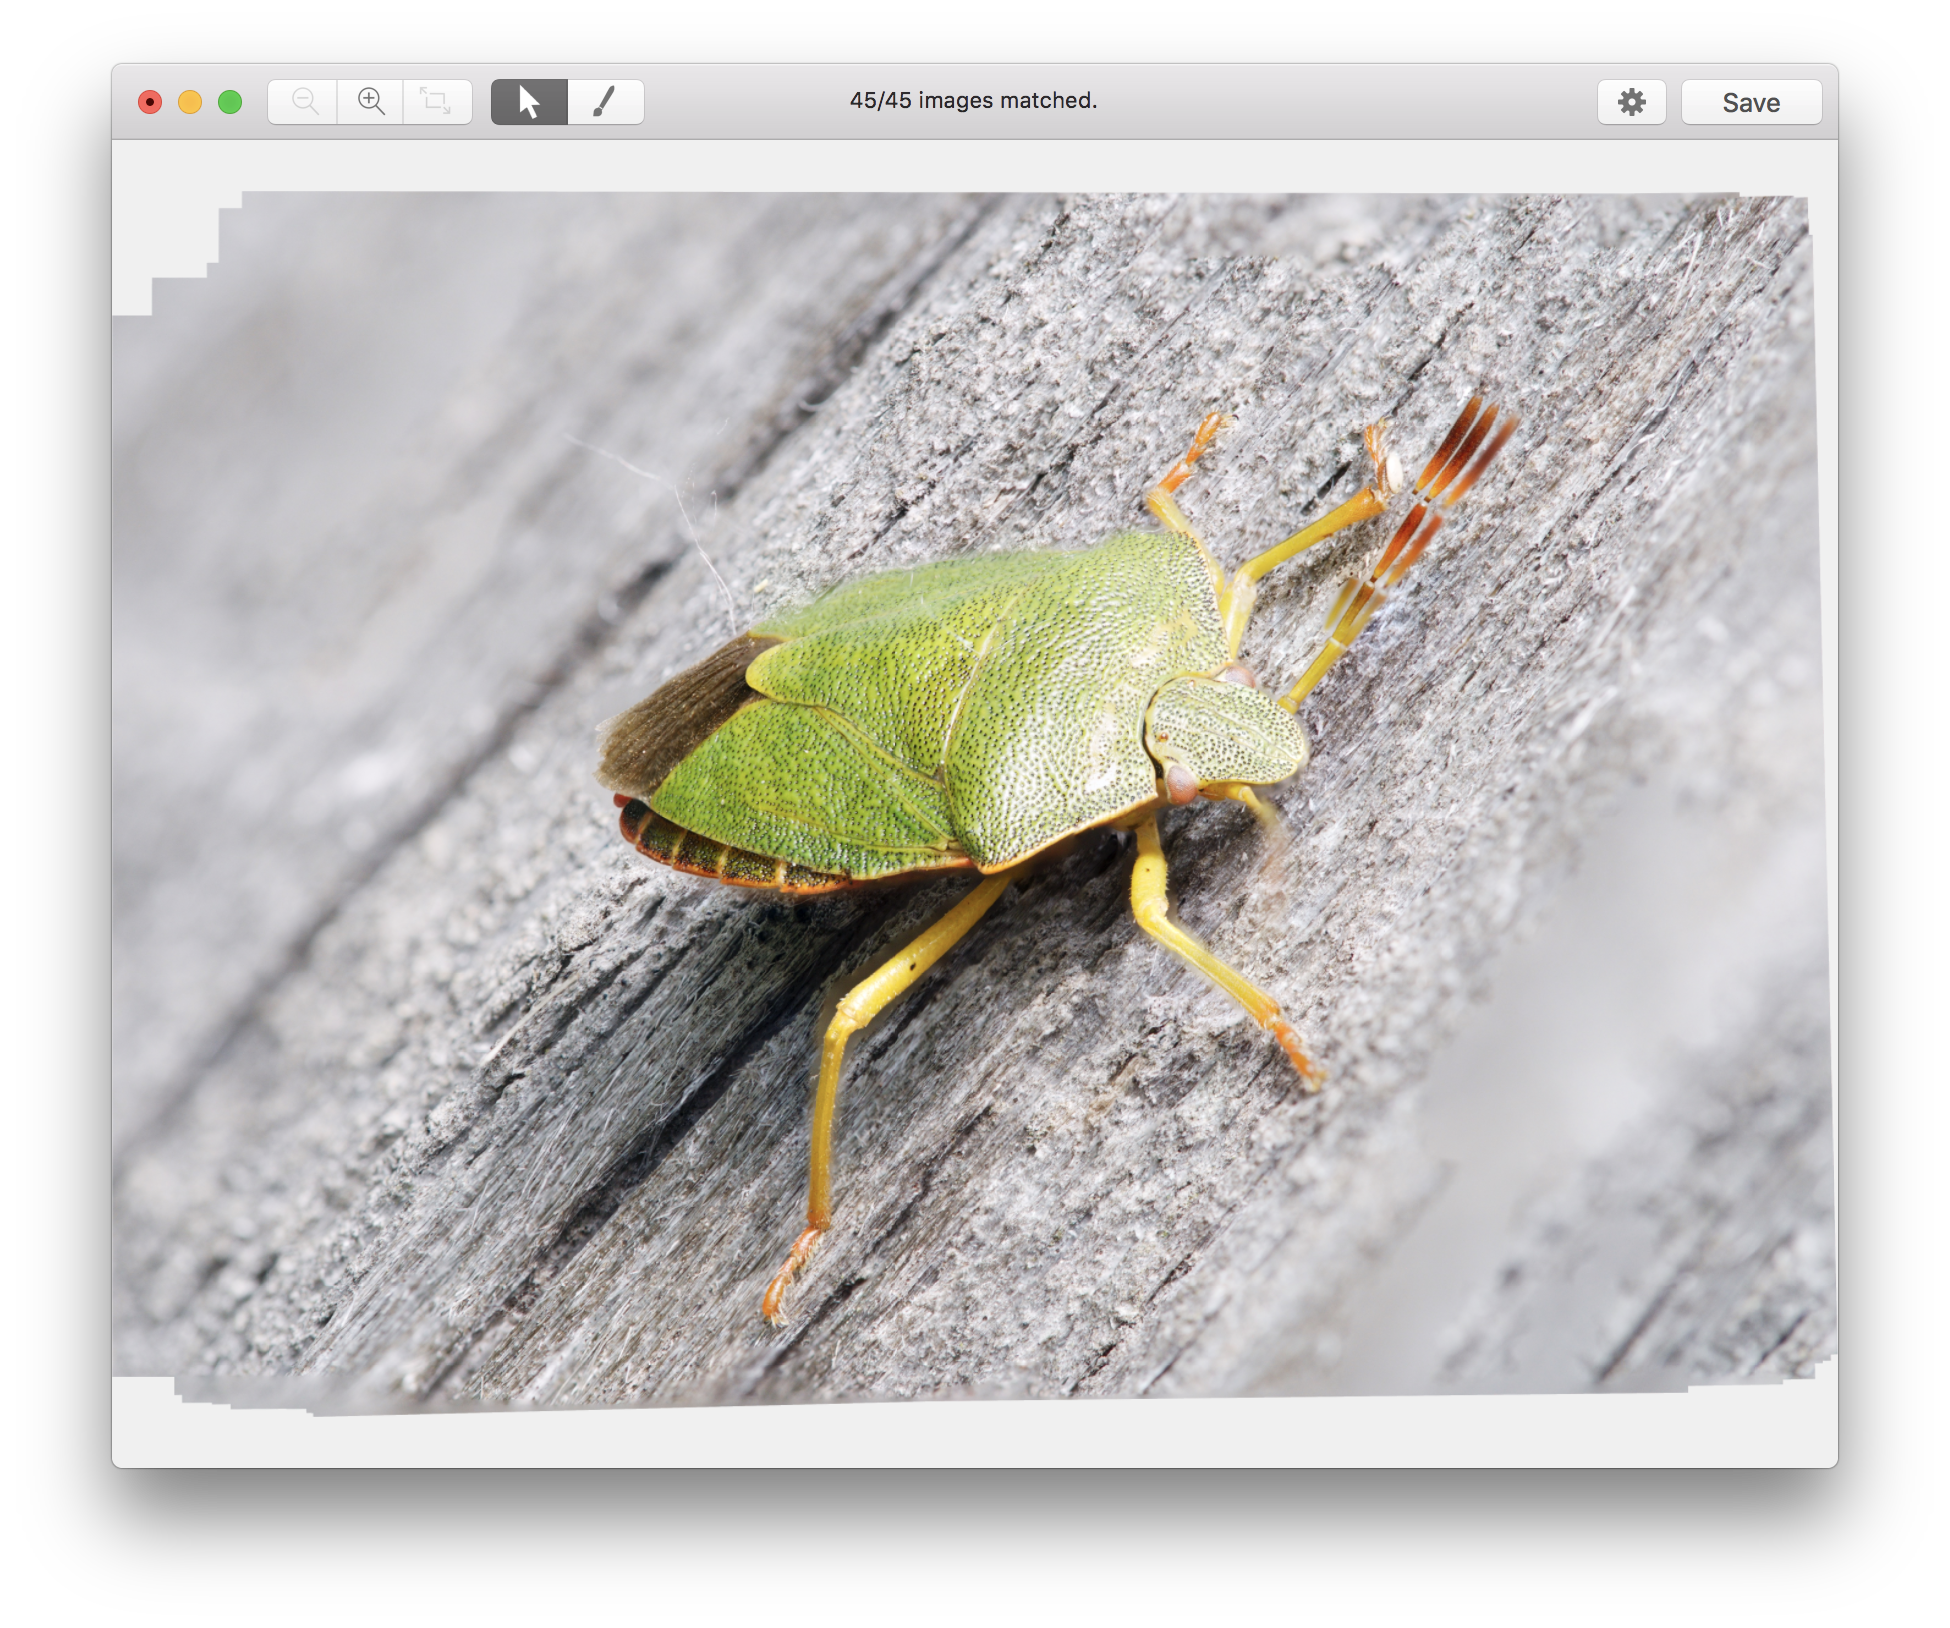
While Focus Stacker has an advanced algorithm for selecting and blending sharpest regions from source images sometimes the automatic result can be improved with manual corrections. For example, an insect is overall still during the stack capture time but moves its antennae.

Since the moving antennae is the sharpest part in several source images it is copied several times to the composite image. In this case we need to keep only one copy of the antennae to have an acceptable composite image. The retouch interface in Focus Stacker allows to do this by precisely specifying which parts of the source images will be used in composite.
Retouch interface basic controls
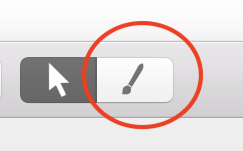
To enter the retouch interface click on the brush image button in the toolbar.

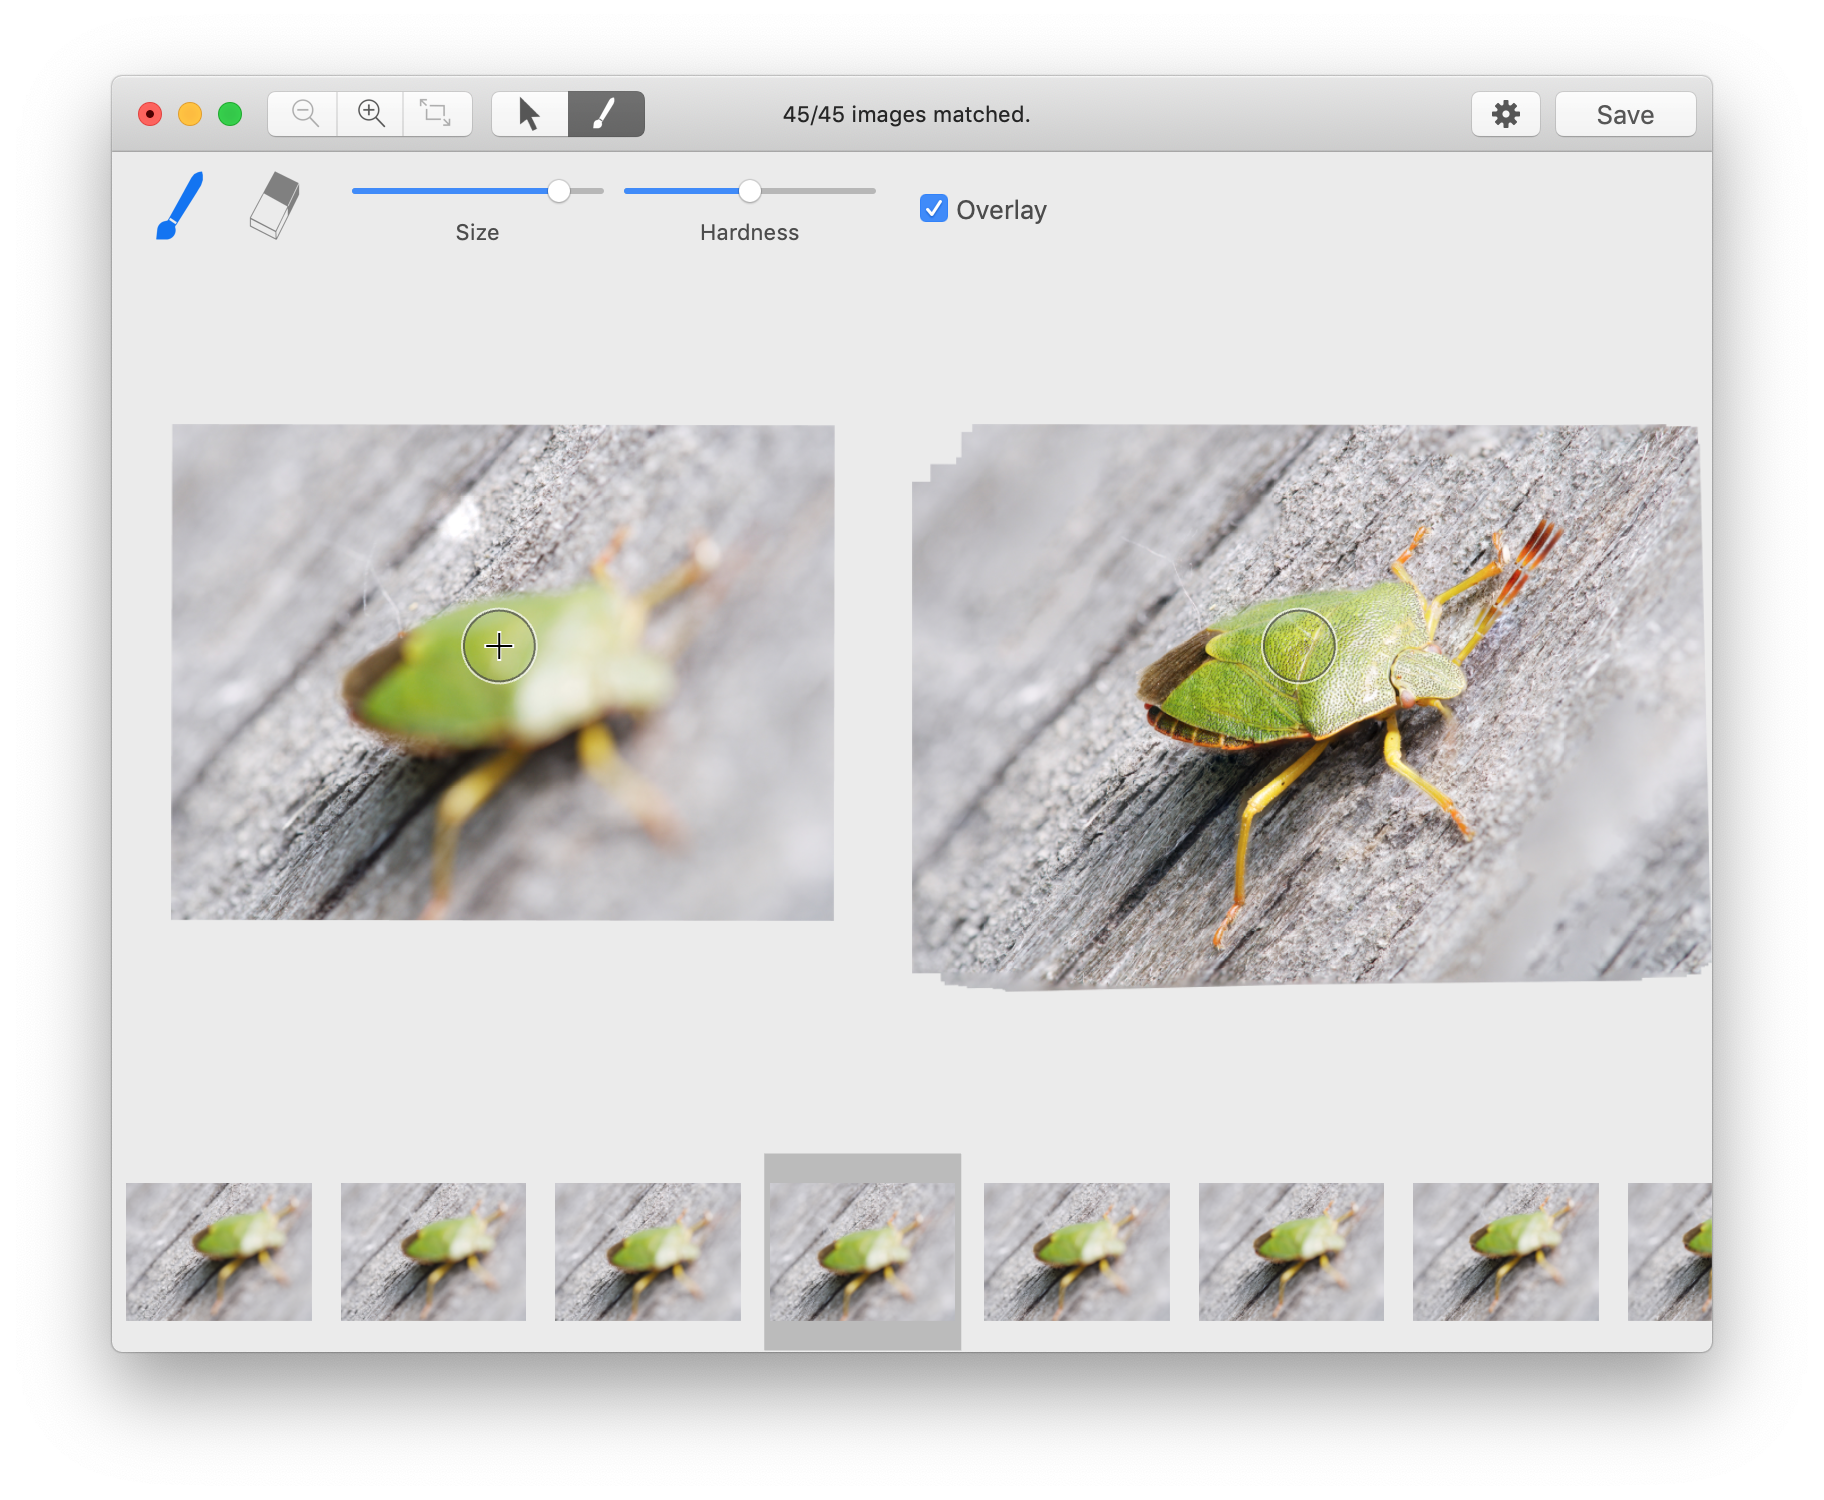
The retouch interface consists of retouch tools — brush and eraser which allow to create a mask atop of the selected source image. The pixels in this mask are copied to the composite image thus overriding the automatic sharpest region selection. In the window you will see:
- At the top of the window there are buttons for retouch tool selection (brush, eraser) and sliders for configuration of the tools (size and hardness). Also there is a check button for showing/hiding mask overlay over the source image.

- The middle of the window is divided into two halves. In the left there is a preview of the selected source image and the right shows the composite image. The source image is shown aligned with the composite. Zooming is also synchronized between the images, when you zoom into one the other zoomed similarly. When the mouse cursor is over this area it is also split in two and shown in both images as a circle in the area of brush application. An additional crosshair shows where the system cursor is.
- At the bottom of the window there are source image thumbnails. Click on one of the thumbnails to select the source image to work with.
 To retouch first select one of the source images and then drawing a mask over the desired its region. Just click and drag over the source or the composite image to draw. Drawing works identically when you click on source or composite image. You can draw a very precise mask if needed by zooming into part of the image and selecting an appropriate brush size.
The hardness parameter controls transition between the masked and unmasked image regions. The lower hardness the smoother the transition.
The eraser brush cancels the effect of the drawing brush in the area of its application; the composite image reverted to the original result of the automatic algorithm.
Shortcuts for quick stack navigation and brush size
When mouse cursor is over source or composite image you can access additional actions by pressing and holding cmd key on the keyboard:
- Click and drag up/down while holding cmd will change the current source image.
- Click while holding cmd will open the source image which contributed most in this pixel of the composite image.
- Scroll up/down while holding cmd to change the brush size.
Undo and redo
Undo and redo works as expected with the standard shortcuts cmd-Z and shift-cmd-Z and corresponding menu items.
Example
|
Follow @boltnevstudio
Copyright 2010-2019 Alexander Boltnev, Olga Kacher. Privacy policy |
|